Sand Walls and Ceilings Without Damaging the Surface – Here’s How

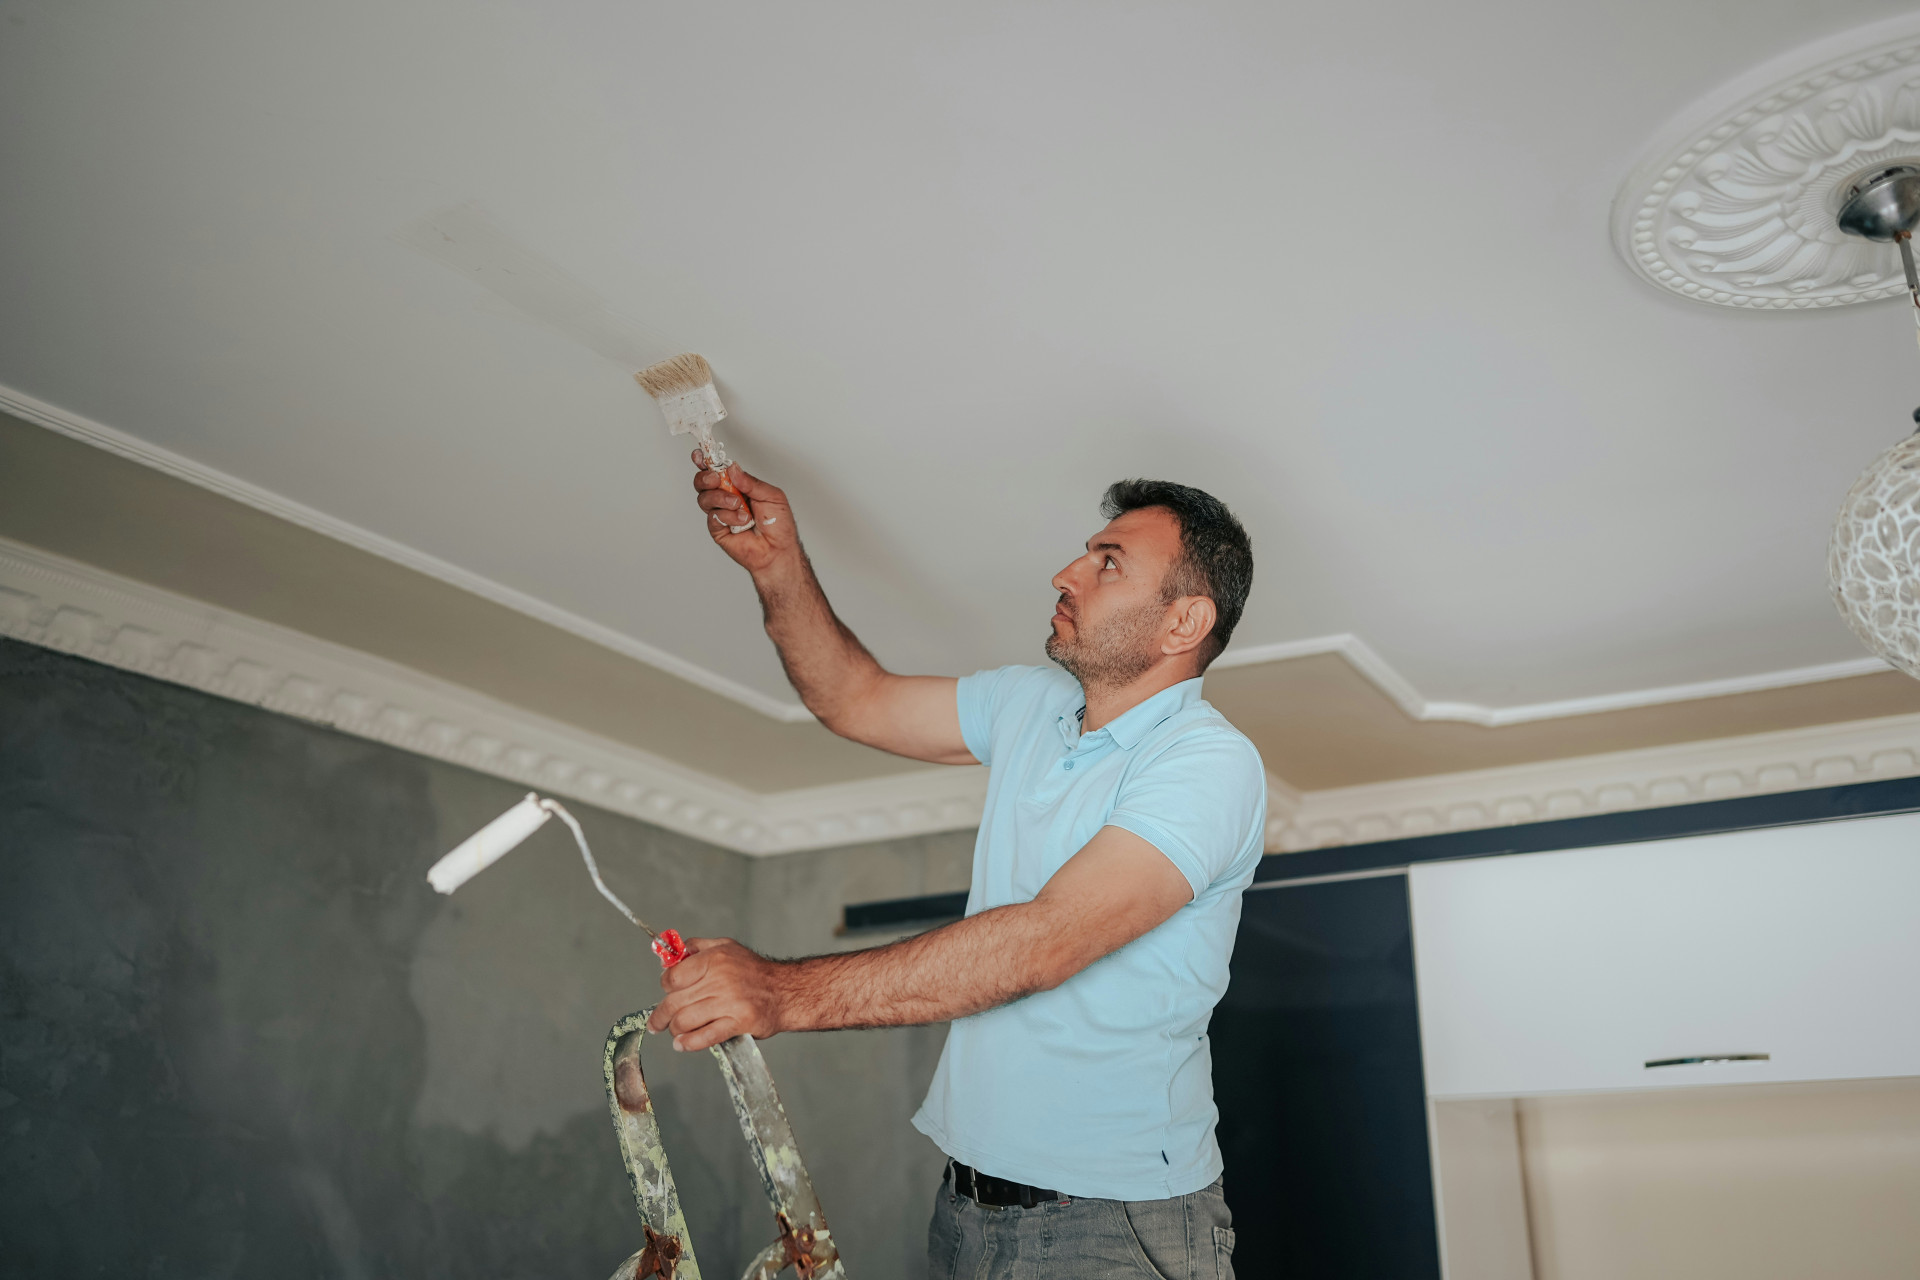
Sand Walls and Ceilings Without Damaging the Surface – Here’s How
Sanding walls and ceilings is an essential step before painting or patching. It smooths out imperfections, removes rough spots, and ensures that paint or joint compound adheres properly. But it’s also a task where it’s easy to go too far—using sandpaper that’s too coarse, pressing too hard, or sanding unevenly can damage drywall or plaster. Here’s a step-by-step guide to help you sand effectively without harming the surface.
Understand the Purpose of Sanding
Sanding isn’t about removing large amounts of material—it’s about refining the surface. The goal is to create a smooth, even base so that paint or primer goes on cleanly and looks professional. If you sand too aggressively, you can leave gouges, scratches, or even tear the paper surface of drywall.
Think of sanding as a finishing touch rather than a heavy-duty process. Gentle, consistent work gives the best results.
Læs også:

Choose the Right Tools
The right tools make sanding easier, cleaner, and safer for your walls and ceilings. Depending on the size of your project, you can choose between hand sanding and power sanding.
- Sanding block or pole sander – Great for smaller areas or touch-ups. They give you control and help prevent uneven pressure.
- Drywall sander (with vacuum attachment) – Ideal for large surfaces like ceilings or entire rooms. A model with dust collection keeps cleanup to a minimum.
- Sandpaper – Use 100–120 grit for general sanding and 150–180 grit for final smoothing before painting. Avoid coarse grits (below 100), which can scratch or damage drywall.
Don’t forget safety gear: a dust mask or respirator, safety glasses, and hearing protection if you’re using a power sander.
Prepare the Surface
Before you start sanding, make sure the surface is clean and dry. Wipe away dust, grease, or loose paint with a damp cloth or mild cleaning solution. Cover floors and furniture with plastic sheeting or drop cloths—sanding dust travels everywhere.
If there are holes or cracks, fill them with joint compound and let them dry completely before sanding. This prevents the filler from crumbling or pulling away.
Sand Gently and Evenly
When sanding, use light, steady pressure and move systematically across the surface. Let the sandpaper do the work—pressing too hard can leave dips or expose the drywall paper.
- Sand in circular or overlapping motions.
- Keep the sanding tool flat against the surface to avoid creating edges or ridges.
- Check your progress frequently by running your hand over the wall—it should feel smooth and consistent.
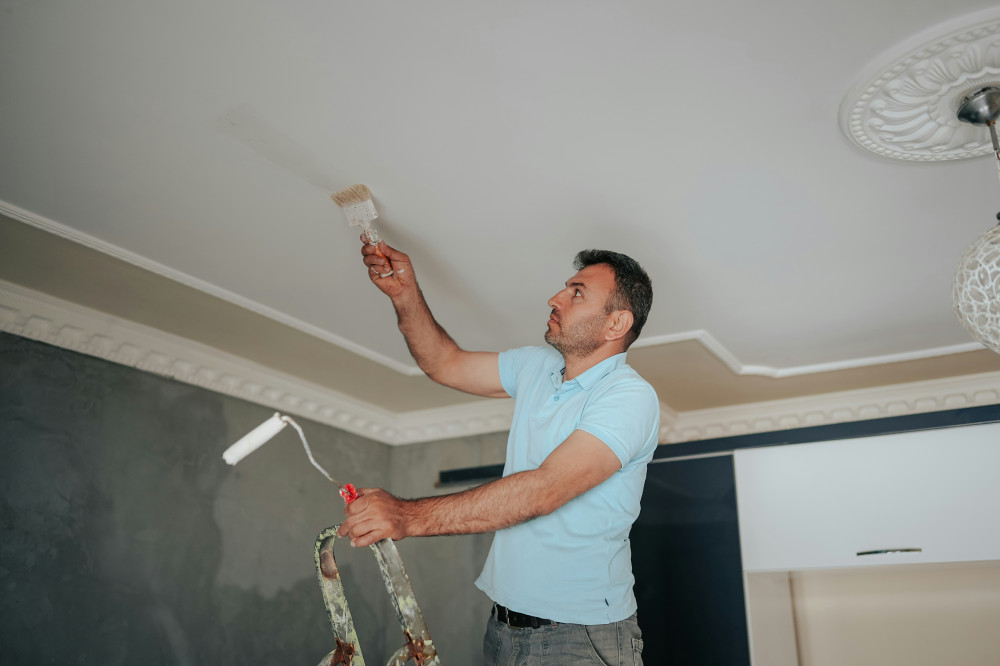
For ceilings, a pole sander or drywall sander with an extension handle helps you reach comfortably without straining your neck or shoulders.
Avoid Common Mistakes
Even small errors can show up once you start painting. Here are some common pitfalls—and how to avoid them:
- Using sandpaper that’s too coarse: Always start with a finer grit than you think you need. It may take a bit longer, but it protects the surface.
- Applying too much pressure: Heavy pressure can gouge drywall or remove too much joint compound.
- Uneven sanding: Keep your movements consistent and avoid lingering in one spot.
- Skipping cleanup between sanding stages: Dust left on the surface can mix with paint and create a rough finish.
Clean Thoroughly Before Painting
Once you’re done sanding, remove all dust before applying primer or paint. Vacuum the walls and ceilings with a brush attachment, then wipe them down with a damp microfiber cloth. Even a thin layer of dust can ruin a smooth paint job.
If you used a sander with a vacuum attachment, cleanup will be easier, but it’s still worth checking corners and edges for leftover dust.
Ready for Paint or Primer
A properly sanded wall or ceiling should feel smooth but not glossy. The surface should have a slight texture that helps paint or primer adhere well. Run your hand over it—if it feels even and free of rough spots, you’re ready to move on.
By taking your time and sanding carefully, you’ll protect your walls and ceilings while setting the stage for a flawless, long-lasting finish.
Læs også: