Plan Your Exterior Painting Project Step by Step for an Efficient and Beautiful Result

Plan Your Exterior Painting Project Step by Step for an Efficient and Beautiful Result
A fresh coat of exterior paint can completely transform your home, boosting curb appeal and protecting it from the elements. But achieving a long-lasting, professional-looking result takes more than just picking a color and grabbing a brush. Careful planning, preparation, and the right materials are key. Here’s a step-by-step guide to help you plan and complete your exterior painting project efficiently—from the first brushstroke to the final touch-up.
Start with Planning – and Choose the Right Time
Timing is everything when it comes to exterior painting. In most parts of the United States, the best time to paint is during late spring through early fall, when temperatures are mild and humidity is low. Ideal painting conditions are typically between 50°F and 85°F, with dry weather and little wind.
Avoid painting in direct sunlight, rain, or when the surface is damp. Paint that dries too quickly or doesn’t adhere properly can lead to peeling and uneven coverage. Check the weather forecast for several days ahead to ensure you have enough time for prep work, painting, and drying.
Inspect Your Home’s Exterior
Before you start, take a close look at your home’s exterior surfaces. Identifying issues early will help you plan repairs and choose the right products. Look for:
- Peeling or flaking paint – indicates the need for scraping and sanding.
- Cracks or water damage – should be repaired before painting.
- Mold, mildew, or algae – must be cleaned thoroughly.
- Rotting wood or damaged siding – should be replaced or repaired.
A thorough inspection ensures that your new paint adheres properly and lasts longer.
Cleaning and Preparation – The Key to a Durable Finish
Preparation is often the most time-consuming part of the job, but it’s also the most important. A clean, dry surface ensures that paint bonds well and provides lasting protection.
- Wash the surface using a mild detergent or exterior cleaner to remove dirt, grease, and mildew. A pressure washer can be helpful, but use a low setting to avoid damaging the surface.
- Scrape off loose paint with a paint scraper, and sand rough edges for a smooth transition.
- Repair any damage with exterior-grade filler or caulk, and allow it to dry completely.
- Prime bare or porous surfaces—especially wood, metal, or new siding. Primer improves adhesion and helps the topcoat last longer.
Choose the Right Paint
Selecting the right paint is crucial for both appearance and durability. Consider your home’s materials and local climate when making your choice.
- Wood surfaces: Use a high-quality exterior latex or oil-based paint designed for wood. Look for formulas that resist cracking and allow the wood to breathe.
- Masonry or stucco: Choose a masonry paint or elastomeric coating that can handle expansion and contraction.
- Metal surfaces: Use a rust-inhibiting primer and paint made specifically for metal.
Always follow the manufacturer’s recommendations and invest in premium paint—it will save you time and money in the long run.
Læs også:


Tools and Safety
Having the right tools makes the job easier and the results more professional. You’ll need:
- Quality brushes and rollers
- Paint trays and extension poles
- Drop cloths and painter’s tape
- A sturdy ladder or scaffolding
- Gloves, safety glasses, and protective clothing
Safety is essential, especially when working at heights. Make sure ladders are stable, wear non-slip shoes, and never overreach. If your home was built before 1978, test for lead paint and follow EPA guidelines for safe removal.
How to Paint – Step by Step
Once everything is prepped, you’re ready to paint.
- Start with edges and trim using a brush for precision.
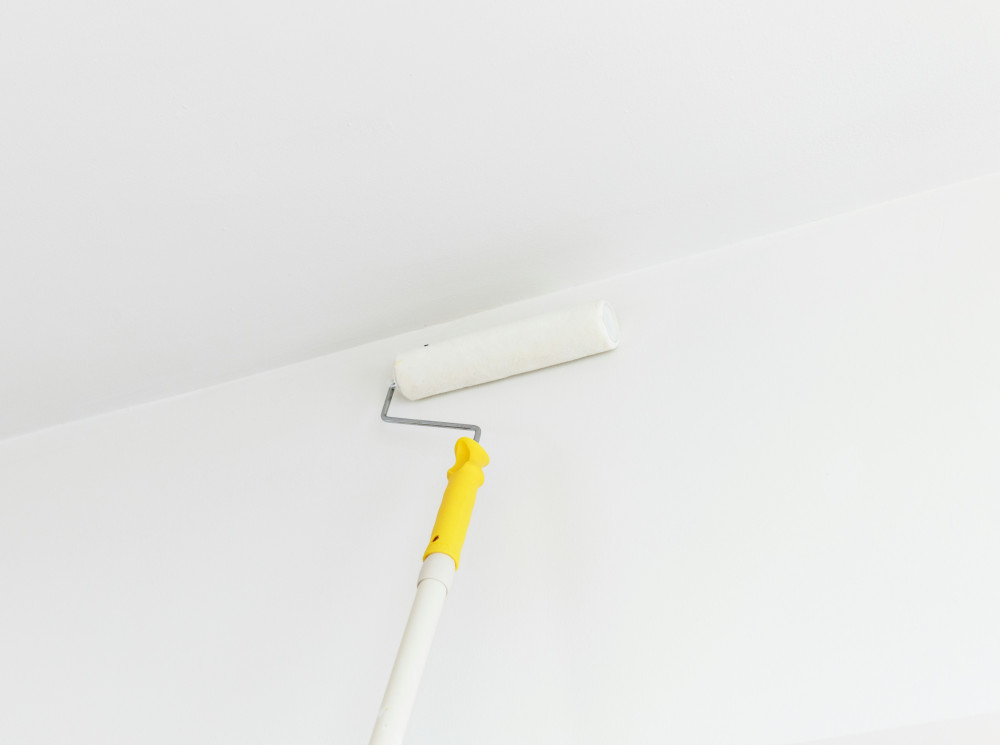
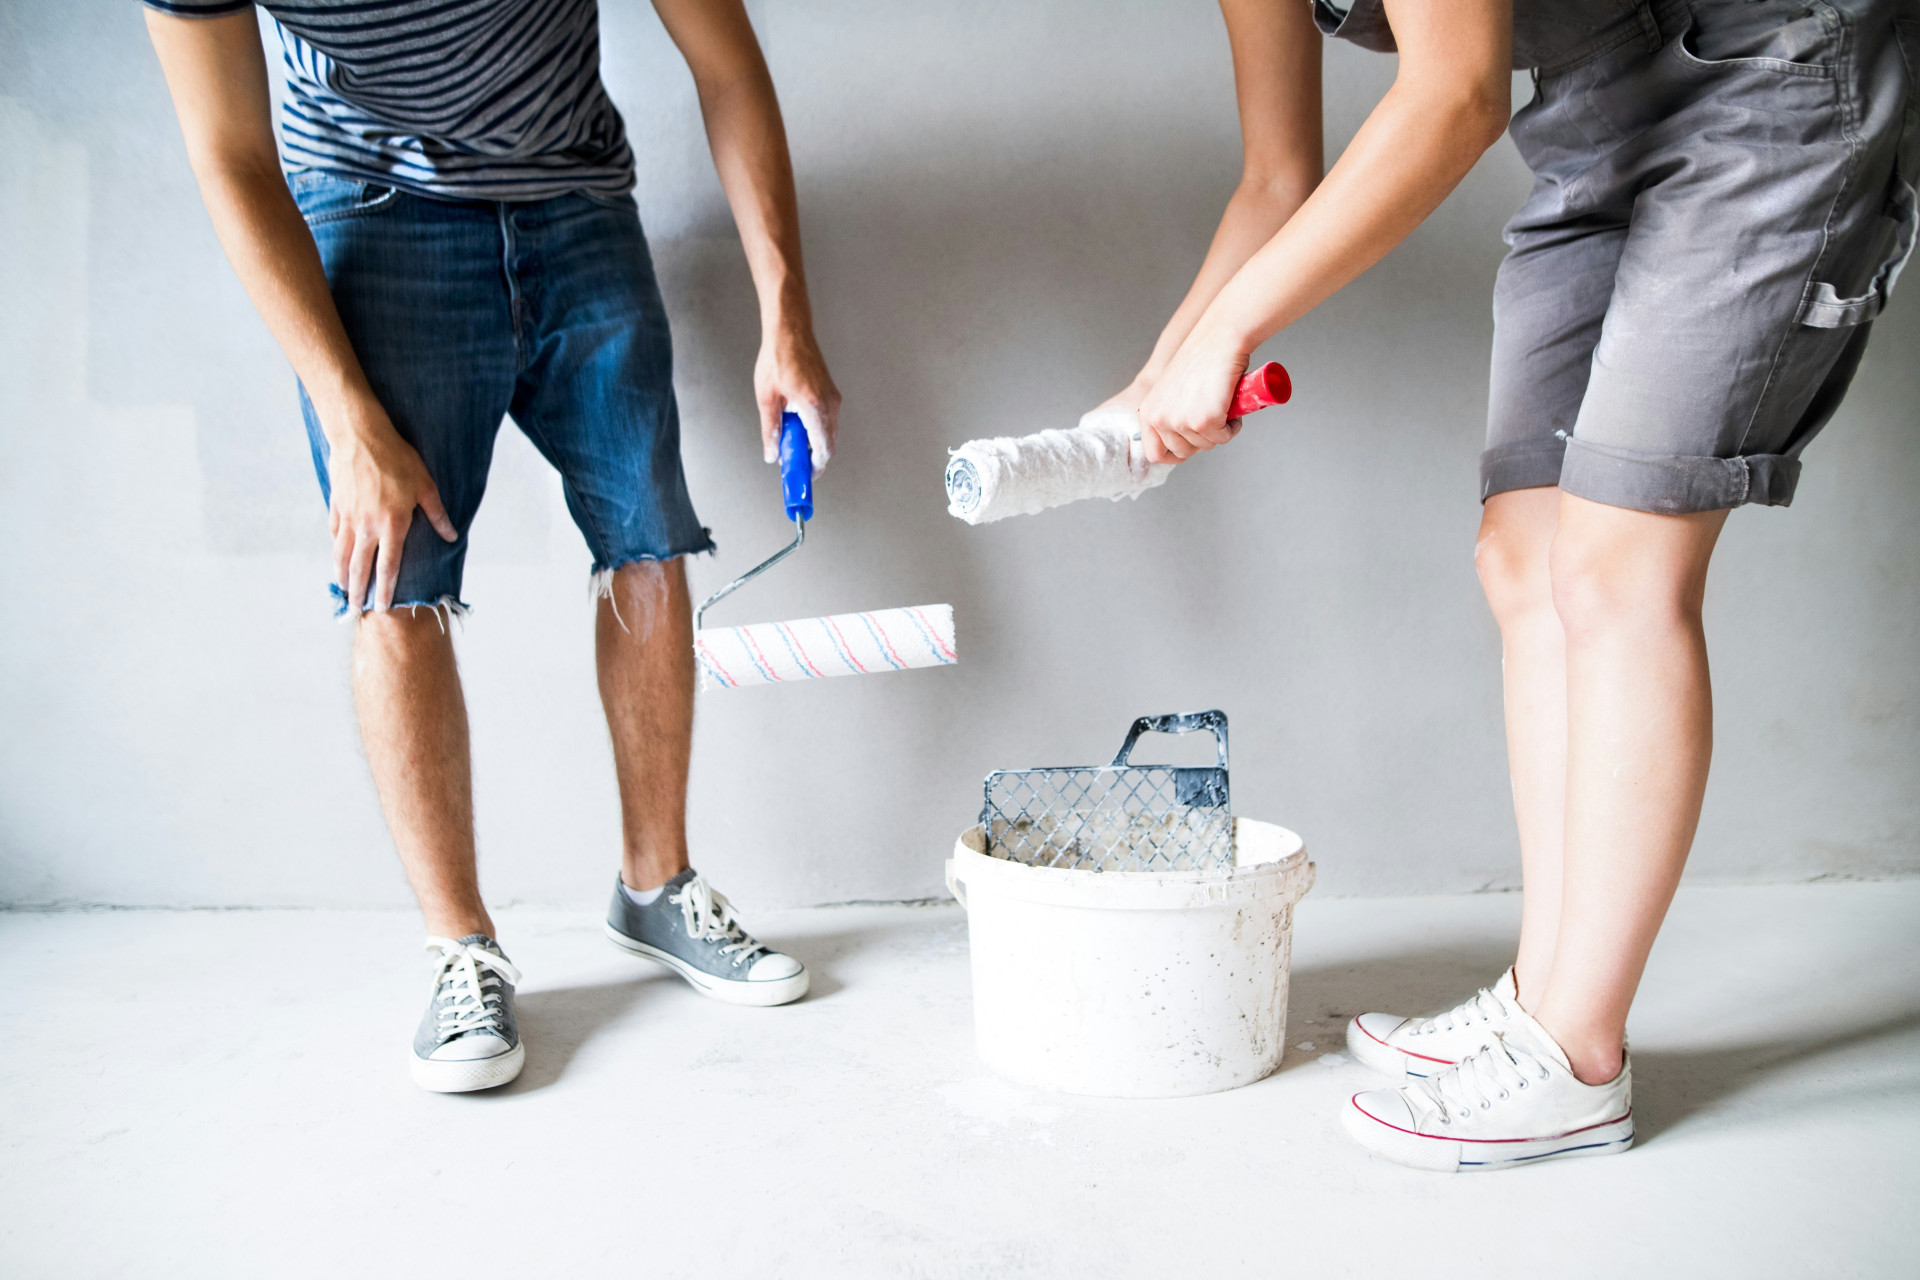
- Use a roller for large areas, working in small sections and maintaining a wet edge to avoid lap marks.
- Apply two coats of paint for the best coverage and durability. The first coat acts as a base, while the second provides depth and protection.
- Allow proper drying time between coats—check the paint can for specific recommendations.
Work from top to bottom to prevent drips and streaks, and take your time for a smooth, even finish.
Finishing Touches and Maintenance
When the paint is dry, remove painter’s tape and drop cloths, and clean your brushes and rollers. Walk around your home to check for missed spots or uneven areas and touch them up as needed.
To keep your exterior looking great, inspect it annually for signs of wear. Wash the surface occasionally to remove dirt and mildew, and address small issues before they become major repairs. Regular maintenance will extend the life of your paint job and keep your home looking fresh for years.
A Beautiful, Long-Lasting Result
A well-planned exterior painting project not only enhances your home’s appearance but also protects it from weather and moisture. With careful preparation, quality materials, and a bit of patience, you can achieve a professional-looking finish that stands the test of time.
Take the time to plan, invest in good products, and enjoy the satisfaction of seeing your home shine with renewed beauty and durability.
Læs også: