Learn How to Apply Mortar Evenly and Precisely to Masonry

Learn How to Apply Mortar Evenly and Precisely to Masonry
Being able to apply mortar evenly and precisely is one of the most essential skills in masonry—whether you’re repairing a brick wall, building a new structure, or repointing an older home. Proper application ensures not only a clean, professional look but also a strong and durable bond. Here’s a practical, step-by-step guide to help you work with mortar like a pro.
Understand the Role and Consistency of Mortar
Mortar acts as the bonding agent between bricks or stones, serving both structural and aesthetic purposes. It must be strong enough to hold the masonry units together, yet flexible enough to accommodate slight movements caused by temperature changes or settling.
Consistency is key. If the mortar is too dry, it won’t adhere properly; if it’s too wet, it will slump and lose strength. A good rule of thumb is that the mortar should stick to your trowel without sliding off, but still be workable. Always use clean tools and mix only as much mortar as you can apply within about 30 to 45 minutes.
Prepare the Surface Thoroughly
A solid result starts with a clean, stable surface. Remove dust, loose mortar, paint, or debris so the new mortar can bond effectively. If you’re working on existing masonry, lightly dampen the surface before applying new mortar—especially on hot or dry days. This prevents the substrate from drawing too much moisture out of the mix.
Also, check that your bricks or blocks are properly aligned and level. Even small irregularities can lead to uneven joints and a crooked wall.
Choose the Right Tools
The classic tool for mortar work is the trowel, but depending on the task, you may also need a pointing trowel, a bucket, a jointer, and a mason’s line. The mason’s line helps you keep your courses straight, while the jointer is ideal for shaping and smoothing the joints.
Make sure all tools are clean and free of hardened mortar—residue can affect both the texture and finish of your work.
Læs også:
Step-by-Step: How to Apply Mortar
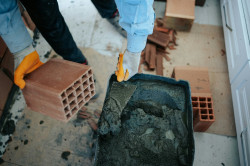
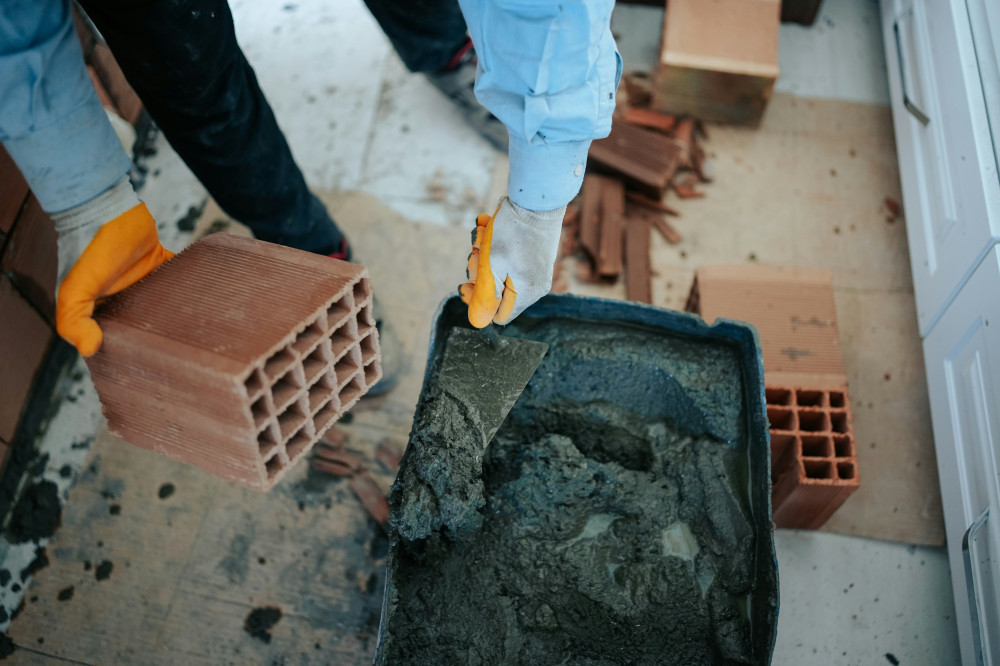
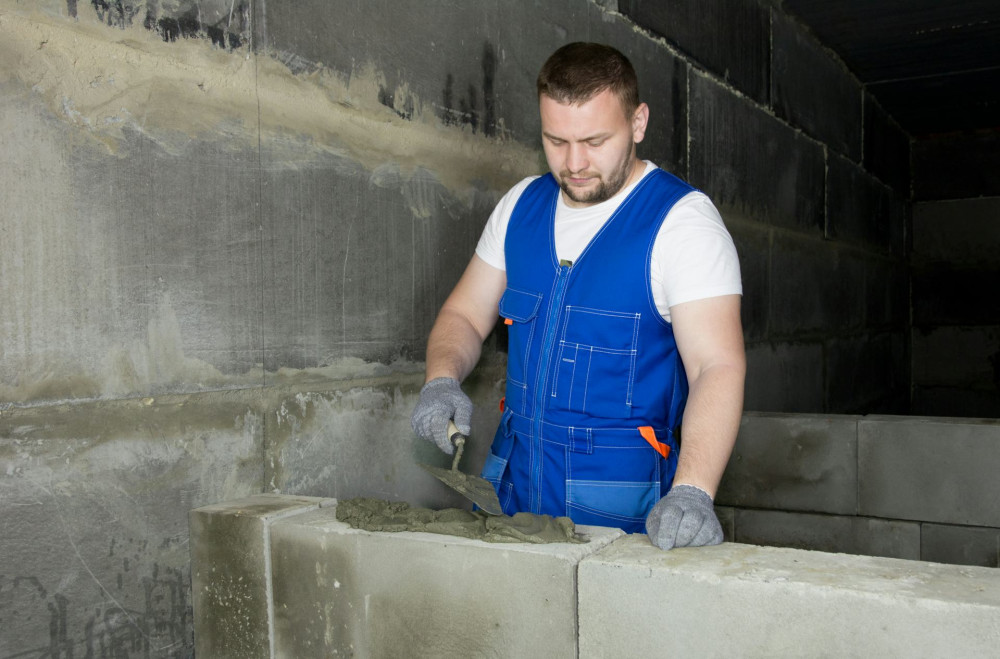
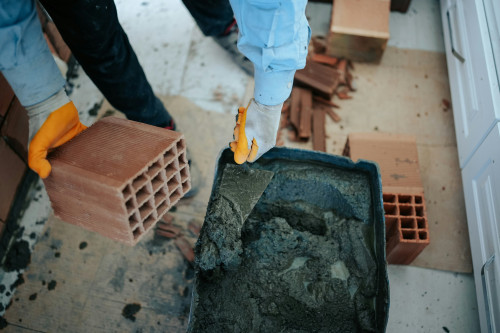
- Load the trowel with mortar – Scoop up a moderate amount using a smooth motion.
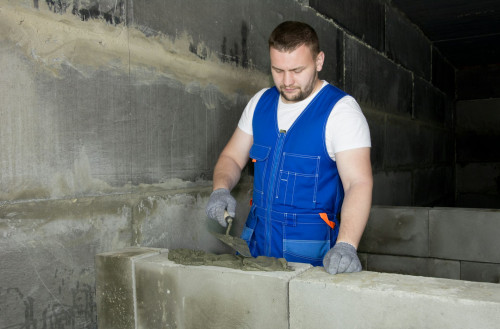
- Spread the mortar – Apply it to the brick or wall surface, pressing it firmly with a slight twist to ensure good adhesion.
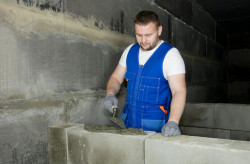
- Level the surface – Use the trowel to spread the mortar into an even layer.
- Set the brick in place – Press it gently into the mortar bed and adjust it so it’s level and aligned with the others.
- Remove excess mortar – Scrape off any extra before it begins to harden.
Work at a steady pace. If the mortar starts to dry before you set the brick, it will lose its bonding ability.
Perfecting the Joints
Joints play a major role in both the appearance and durability of masonry. They should be uniform in depth and width. Use a jointer or pointing tool to shape them while the mortar is still slightly damp—not wet, but not fully hardened either. This gives you the best control and a clean finish.
There are several joint profiles to choose from—concave, flush, or raked, for example. Select the one that best suits your building’s style and purpose. A properly finished joint helps protect the wall from water penetration and freeze-thaw damage.
Avoid Common Mistakes
Even small errors can affect the strength and look of your masonry. Here are some pitfalls to watch out for:
- Overly wet mortar: Leads to weak bonding and potential cracking.
- Uneven pressure: Causes inconsistent joint thickness and crooked lines.
- Poor cleanup: Dried mortar smears can permanently stain the surface.
- Working in extreme temperatures: Direct sun, freezing conditions, or strong wind can interfere with curing and weaken the result.
Take your time and focus on precision—quality masonry is built on patience and attention to detail.
Finishing and Maintenance
Once the mortar has cured, gently brush the surface with a soft broom to remove dust and small particles. Avoid washing the wall with water for the first few days, as this can weaken the curing process. After a couple of weeks, you may consider applying a breathable masonry sealer to protect against moisture and dirt.
Mastering mortar application takes practice, but with the right techniques and a careful approach, you can achieve a result that’s both beautiful and long-lasting—something you’ll be proud to stand back and admire for years to come.
Læs også: