DIY Floor Insulation: How to Plan Your Project Step by Step

DIY Floor Insulation: How to Plan Your Project Step by Step
A well-insulated floor can make a big difference in both comfort and energy efficiency. Cold floors, drafts from the basement, or high heating bills often point to poor or missing insulation beneath your flooring. The good news is that with careful planning, many homeowners can handle much of the work themselves. Here’s a step-by-step guide to planning and executing your floor insulation project the right way.
Step 1: Assess Your Current Floor
Before you start, you need to understand what you’re working with. Is there already insulation under your floor, and if so, how much? You can check by removing a floor vent cover, lifting a small section of flooring, or inspecting from the crawl space or basement.
- Wood floor over a crawl space: You can usually add insulation from below without removing the floor.
- Concrete slab on grade: Adding insulation typically means breaking up and rebuilding the slab—more work, but with major energy benefits.
- Floor above an unheated basement or garage: Insulating from below is often the easiest and most effective approach.
Take note of the existing insulation’s thickness and condition. If you see signs of moisture or mold, address those issues first—insulating over moisture problems can lead to rot and structural damage.
Step 2: Plan Your Project and Choose the Right Approach
Once you know your starting point, you can plan how to proceed. Consider the following:
- Insulation thickness: Thicker insulation provides better thermal performance, but make sure it won’t interfere with door clearances or ceiling height.
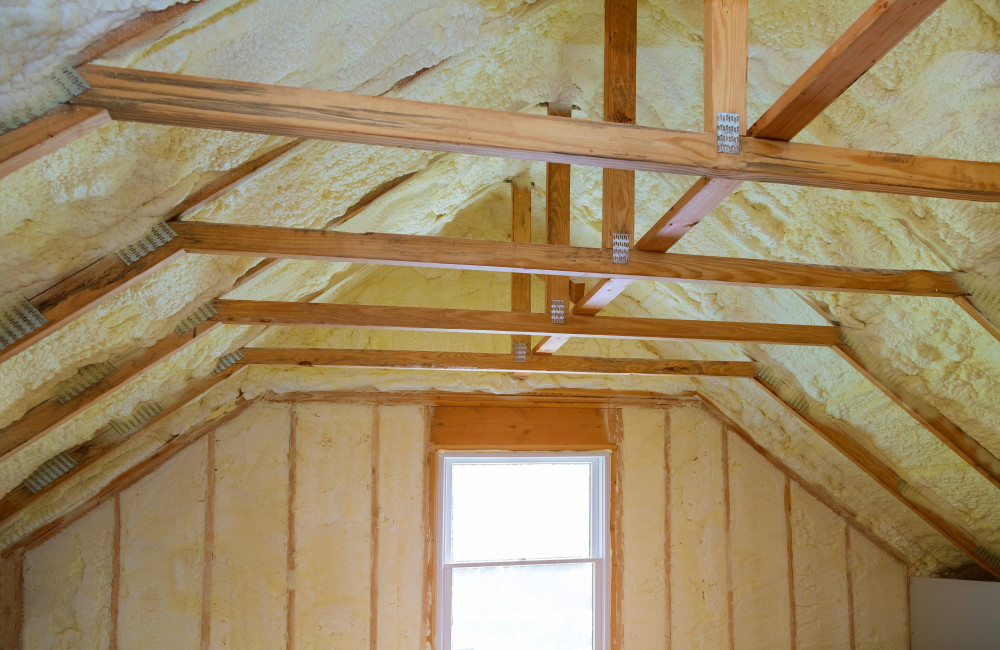
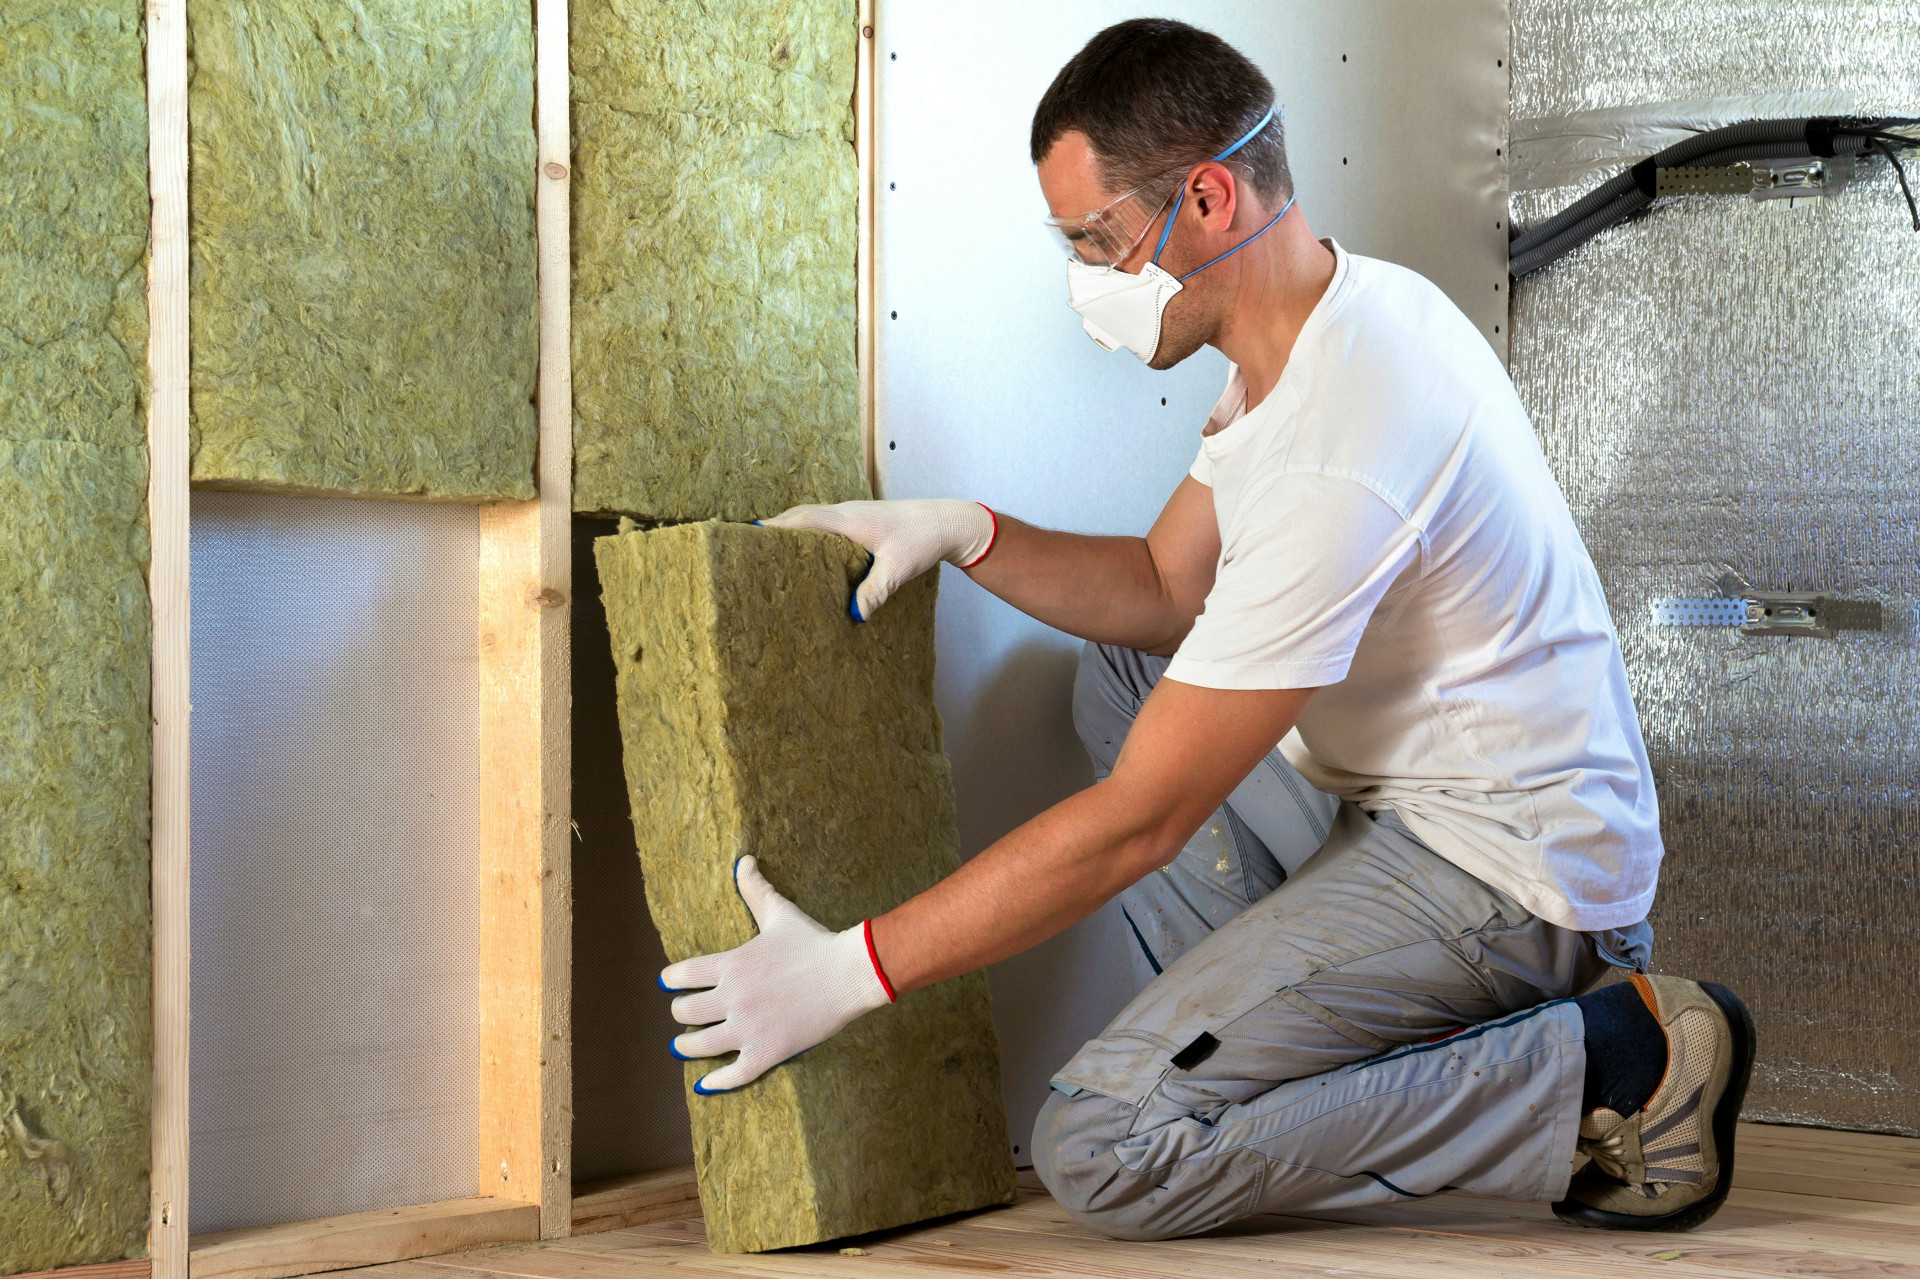
- Material options: Common choices include fiberglass batts, rigid foam boards (such as XPS or polyiso), spray foam, or mineral wool. Each has different R-values, moisture resistance, and installation methods.
- Installation method: Will you insulate from below, above, or as part of a larger renovation?
Create a realistic timeline. A small room might take a weekend, while a whole house could take several weeks. Don’t forget to include time for prep work, cleanup, and any drying or curing periods for vapor barriers or adhesives.
Step 3: Prepare the Subfloor or Crawl Space
A successful insulation job starts with a clean, dry surface. Remove any old insulation, debris, or dust. Inspect joists and subflooring for rot or damage and replace any compromised sections.
If you’re insulating over a concrete slab, install a vapor barrier—usually a 6-mil polyethylene sheet—to prevent ground moisture from seeping into the insulation. Overlap and tape seams tightly.
For crawl spaces, ensure there’s adequate ventilation or, if you’re encapsulating the space, that it’s properly sealed and conditioned. Never block all ventilation without addressing moisture control.
Step 4: Install the Insulation
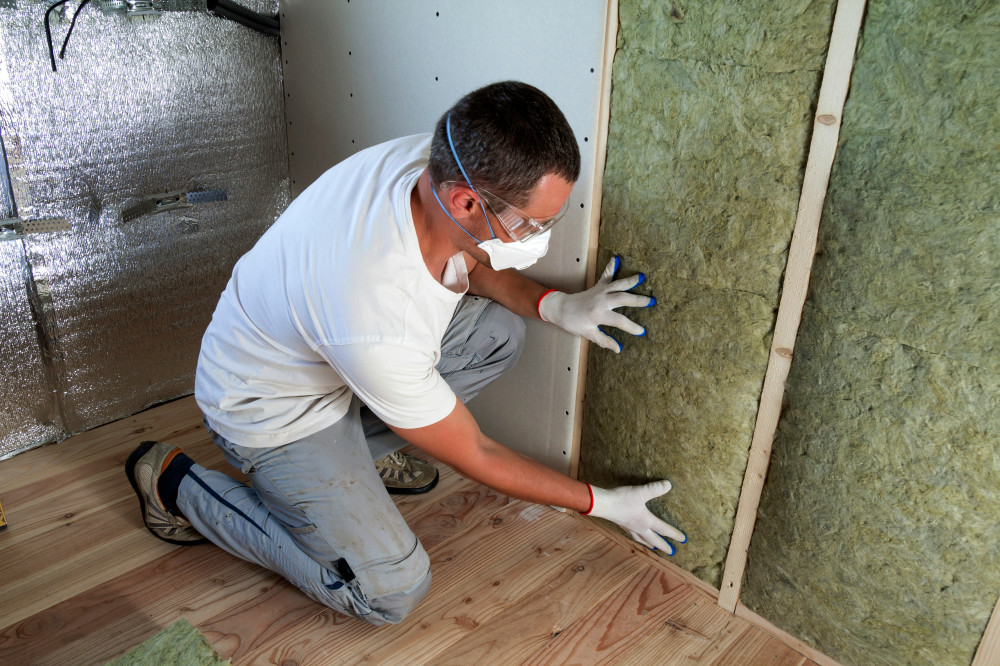
With the prep work done, it’s time to install the insulation. Work methodically and make sure the material fits snugly without gaps—small air leaks can significantly reduce performance.
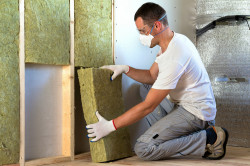
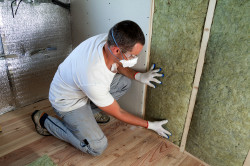
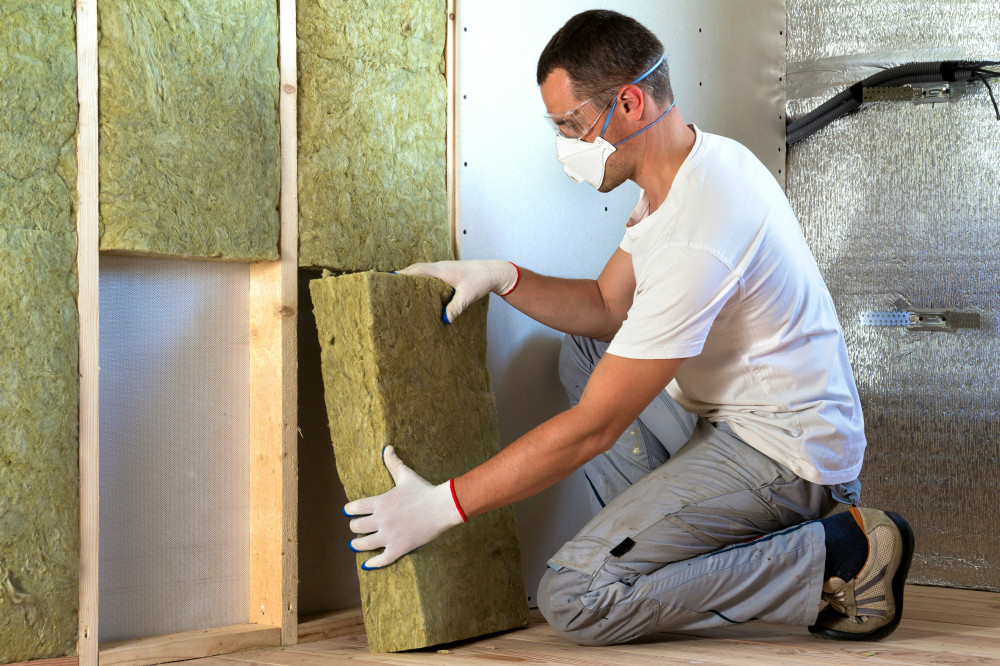
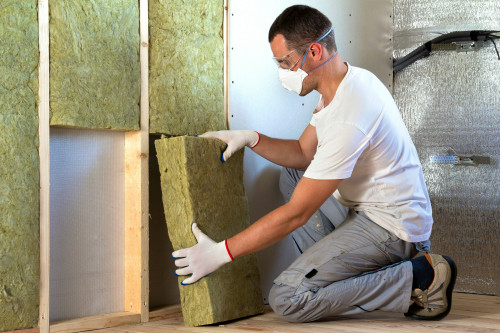
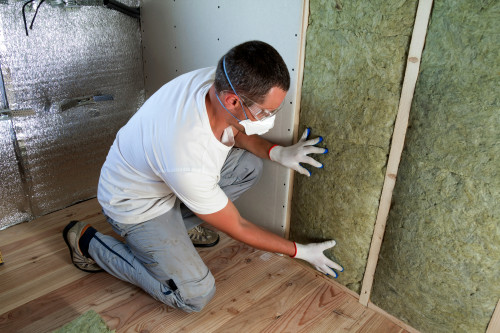
- For wood floors: Cut batts or boards to fit tightly between joists. Don’t compress fiberglass or mineral wool—it reduces its insulating value.
- For concrete slabs: Lay rigid foam boards evenly over the vapor barrier, ensuring they’re level before pouring a new slab or installing subfloor panels.
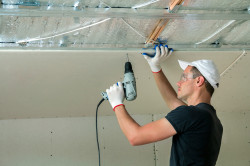
- For basement or garage ceilings: Attach insulation directly under the floor joists using wire supports, netting, or adhesive. You can add a vapor retarder if required by local building codes.
Check your work as you go to ensure there are no gaps or exposed areas.
Step 5: Finish the Floor and Details
Once the insulation is in place, reinstall or lay your flooring. Take this opportunity to ensure the floor is level and secure. If you’re installing new hardwood, laminate, or vinyl, consider using an underlayment that adds both soundproofing and a bit of extra insulation.
Seal gaps along baseboards and around vents to prevent drafts. These small finishing touches can make a noticeable difference in comfort and efficiency.
Læs også:
Step 6: Test and Enjoy the Results
After completing the project, you should notice the difference right away—warmer floors and lower energy bills. You can use an infrared thermometer to measure surface temperatures before and after to see the improvement.
Remember that insulation works best as part of a whole-home approach. Check that your walls, attic, and windows are also properly insulated and sealed to maximize your energy savings.
Step 7: DIY with Care
While floor insulation is a manageable project for many homeowners, it requires attention to detail and an understanding of moisture control and building structure. If you’re unsure about any step—especially vapor barriers or insulation types—consult a contractor or building inspector before proceeding. A bit of expert advice can prevent costly mistakes later.
With the right planning, materials, and careful execution, you can make your home more energy-efficient, comfortable, and eco-friendly—all with your own two hands.
Læs også: