Create Your Own Wall Art with Air-Dry Clay – Simple and Creative

Create Your Own Wall Art with Air-Dry Clay – Simple and Creative
Air-dry clay is one of the most versatile and accessible materials for making personalized home décor. You don’t need a kiln, special tools, or years of experience—just a bit of time, imagination, and a willingness to experiment. With a few simple supplies, you can create unique wall art that adds a handmade and natural touch to your home. Here’s some inspiration and an easy step-by-step guide to help you get started.
Why Choose Air-Dry Clay?
Air-dry clay is perfect for creative projects because it’s easy to handle and hardens naturally at room temperature. There’s no need for baking or firing, and once dry, it can be sanded, painted, and sealed. It’s available in white, gray, and terracotta tones, so you can choose the look that best fits your home’s style.
It’s also an affordable and eco-friendly alternative to traditional ceramics—great for both beginners and experienced crafters.
What You’ll Need
To get started, gather the following materials:
- Air-dry clay (available at craft stores or online)
- Cutting board or parchment paper for your work surface
- Rolling pin or glass bottle to roll out the clay
- Knife or cookie cutters
- Straw or skewer for making hanging holes
- Fine-grit sandpaper
- Acrylic paint, brushes, and optional sealant or varnish
You can also use natural materials like leaves, lace, or fabric to imprint textures and patterns into the clay.
Step-by-Step Guide
-
Prepare Your Workspace Cover your table with parchment paper or plastic wrap to prevent the clay from sticking.
-
Roll Out the Clay Use a rolling pin to flatten the clay to about ¼ inch thick. Thicker pieces will be sturdier once dry.
-
Shape Your Design Cut or press out shapes—circles, arches, or abstract forms. You can combine several pieces into a larger composition for a more dynamic look.
-
Add Texture and Details Gently press leaves, fabric, or string into the surface to create patterns. You can also carve lines or dots with a toothpick for a more graphic design.
-
Make Holes for Hanging Use a straw or skewer to create small holes if you plan to hang your pieces with string or wire.
-
Let It Dry Place your clay pieces on a flat surface and let them dry for 24–48 hours. Flip them occasionally to ensure even drying and prevent warping.
-
Sand and Paint Once completely dry, smooth the edges with fine sandpaper. Paint with acrylics in colors that match your décor—or leave them unpainted for a natural, minimalist look.
-
Assemble and Hang Tie pieces together with string, mount them on a wooden board, or hang them directly on the wall using small nails or adhesive strips.
Design Ideas and Inspiration
- Minimalist and Modern: Use white clay and simple geometric shapes. Pair with neutral tones and wood accents.
- Boho and Organic: Create irregular, hand-shaped forms and paint them in soft earth tones.
- Colorful and Playful: Experiment with bright colors and layered shapes for a bold, artistic statement.
- Nature-Inspired: Press leaves, flowers, or stones into the clay for natural textures and patterns.
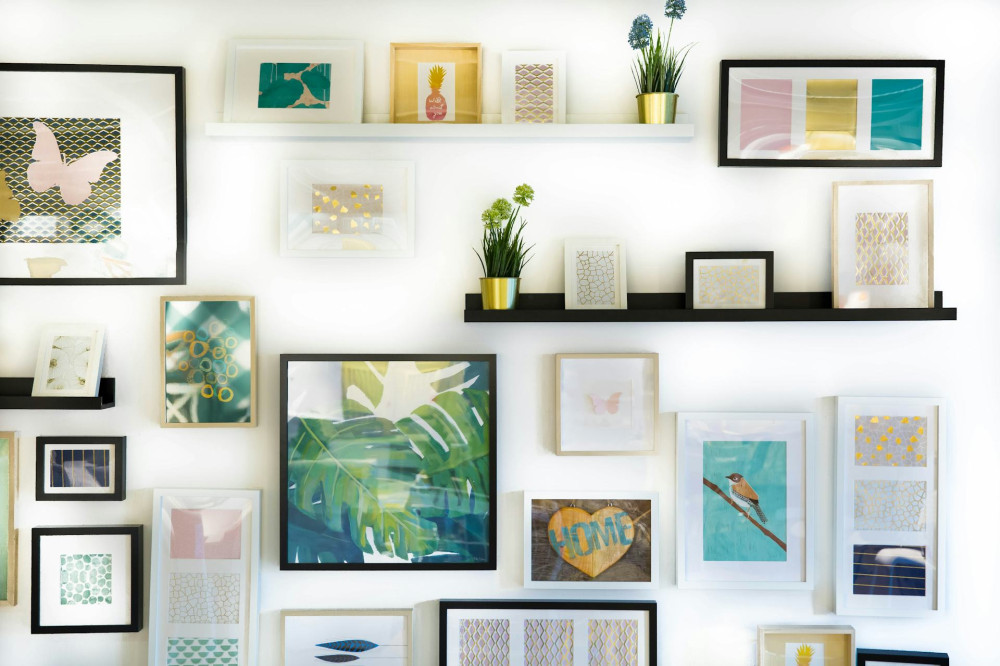
You can also make a series of small pieces and arrange them as a wall collage for a personal and artistic touch.
Læs også:

Tips for the Best Results
- Work with small amounts of clay at a time—it can dry out quickly.
- If the clay starts to dry, lightly moisten it with a damp cloth.
- Use a clear sealant to protect the surface from dust and moisture.
- Try different hanging materials like leather cord, metal wire, or driftwood for a unique finish.
Relax and Get Creative
Working with clay isn’t just about making beautiful wall art—it’s also a calming and hands-on way to express yourself. You’ll enjoy the process of shaping, designing, and creating something that reflects your personality. The result is a piece of art that not only decorates your home but also tells your story.
Læs også: