Avoid Uneven Bathroom Tiles – How to Get Perfectly Straight Lines

Avoid Uneven Bathroom Tiles – How to Get Perfectly Straight Lines
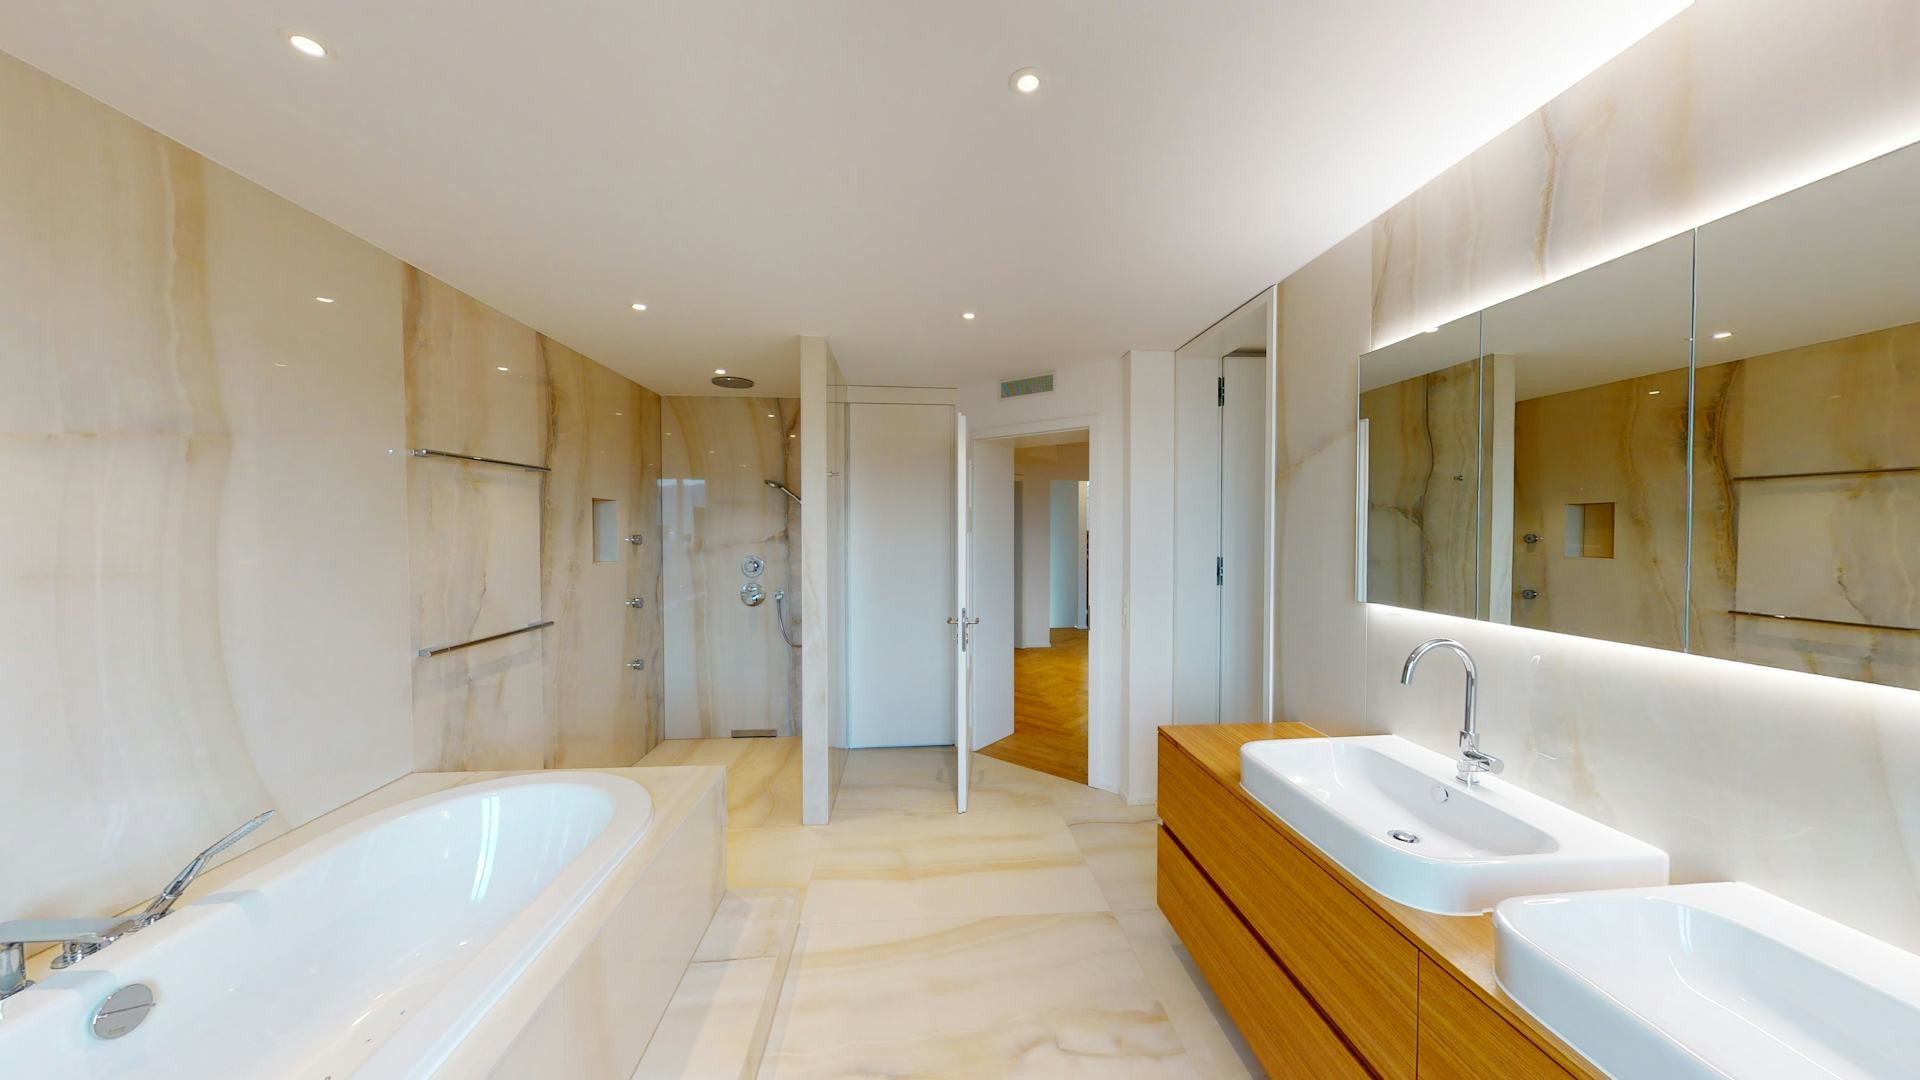
Installing bathroom tiles might seem like a straightforward DIY project, but many homeowners end up frustrated when the finished surface looks uneven. Crooked lines, misaligned grout joints, and tiles that don’t sit flush can ruin the look of your bathroom—and fixing them later is no small task. The good news is that with proper preparation, patience, and the right tools, you can achieve a clean, professional-looking result. Here’s how to avoid uneven bathroom tiles and get perfectly straight lines.
Preparation Is Everything
A flawless tile job starts long before you open the bucket of thinset. The surface beneath your tiles must be flat, clean, and dry. Even small dips or bumps in the wall or floor can throw off your alignment.
- Check the surface using a long level or straightedge. Fill in low spots with patching compound or self-leveling underlayment, and sand down any high spots.
- Clean thoroughly – remove dust, grease, and any old adhesive or paint that could prevent the thinset from bonding properly.
- Plan your layout before you start. Measure the space and sketch out your tile pattern to avoid ending up with narrow tile slivers along the edges. A balanced layout looks more polished.
The more time you spend preparing, the easier the installation will be.
Use the Right Tools
Even experienced tile setters rely on tools to ensure precision. The most important ones for straight lines include:
- Tile spacers or a leveling system – keep grout lines consistent and tiles even in height.
- A level or laser line – helps you maintain both horizontal and vertical alignment.
- Notched trowel – ensures the thinset is spread evenly so tiles sit at the same height.
A tile leveling system is especially helpful for floor tiles, where even slight height differences can be noticeable underfoot.
Start in the Right Place
A common mistake is starting in a corner, but if your walls aren’t perfectly square, your lines will drift. Instead:
- Find the center of the room and mark both a horizontal and vertical line using a chalk line or laser.
- Begin tiling from the center and work outward toward the walls. This keeps your layout symmetrical and visually balanced, even if the walls are slightly uneven.
- Check your alignment frequently with a level. Small adjustments along the way are much easier than trying to fix a crooked row later.
Læs også:
Take Your Time When Setting Tiles
Once you start applying thinset, don’t rush. It has a limited working time and can dry faster than expected.
- Spread thinset over a small area—about 2 to 4 square feet at a time.
- Press each tile firmly into place with a slight twisting motion to ensure full contact with the adhesive.
- Insert spacers or clips between tiles and check alignment regularly.
If you notice a tile that’s slightly off while the thinset is still wet, lift and adjust it immediately. Waiting too long can make corrections difficult without damaging the tile.
Grouting and Finishing Touches
After the tiles have set and the thinset has cured, it’s time to grout. This step not only seals the gaps but also defines the overall look.
- Choose a grout color that complements your tiles—darker grout hides dirt, while lighter shades create a clean, airy feel.
- Apply grout diagonally across the tiles with a rubber float to fill joints completely.
- Wipe away excess grout with a damp sponge before it hardens.
Finish by sealing corners and edges with silicone caulk, which allows for slight movement and prevents cracking.
Common Mistakes to Avoid
Even small errors can stand out in a tiled bathroom. Here are the most frequent pitfalls:
- Uneven substrate – no amount of precision can fix a wavy surface.
- Too much or too little thinset – can cause tiles to sit unevenly.
- Skipping alignment checks – always verify with a level as you go.
- Inconsistent grout lines – uneven spacing makes even beautiful tiles look sloppy.
By working methodically and double-checking your progress, you can avoid these issues.
A Beautiful Result That Lasts
Tiling takes patience, but the payoff is worth it. Straight lines and even surfaces not only look more professional but also make your bathroom easier to clean and more resistant to moisture.
With careful preparation, the right tools, and attention to detail, you can achieve a result that looks like it was done by a pro—even if you did it yourself.
Læs også: